Understanding Traditional Woodcarving Techniques
Explore the tools, methods, and cultural significance behind the woodcarving traditions on display in our permanent collection
What Makes Woodcarving a Living Art
Woodcarving isn't just about removing wood to reveal a shape underneath. It's a conversation between the artist and the material — understanding grain patterns, wood density, and how different species respond to hand tools. What you see in our collection represents centuries of refined technique, passed down through families and communities across America.
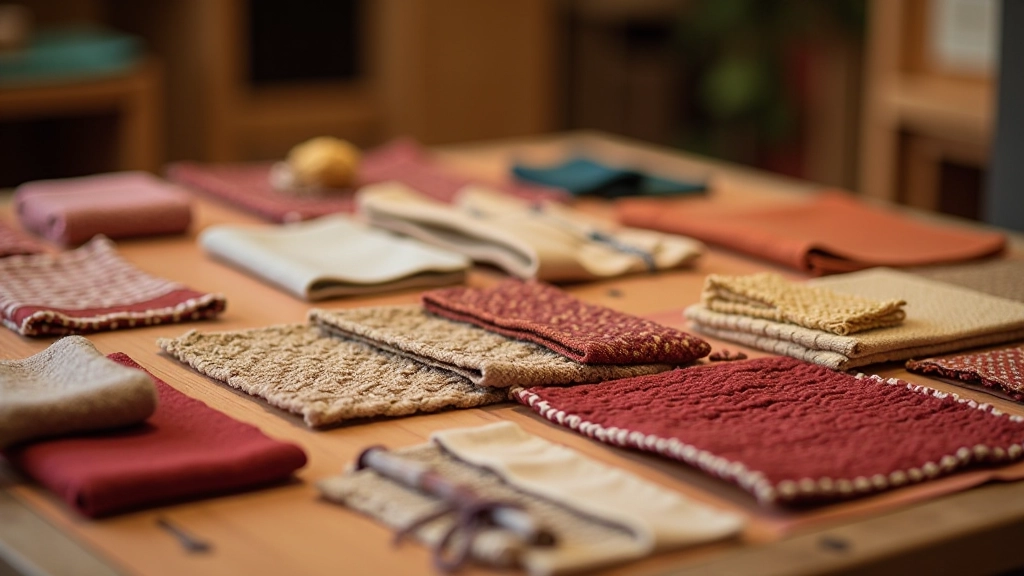
The pieces displayed here aren't mass-produced decorations. They're evidence of patient hands working methodically over hours, sometimes days, to create something both functional and beautiful. Whether it's a spoon carved smooth enough to feel right in your palm or a relief panel telling a story, each piece carries the maker's signature approach.
The Essential Tools of the Trade
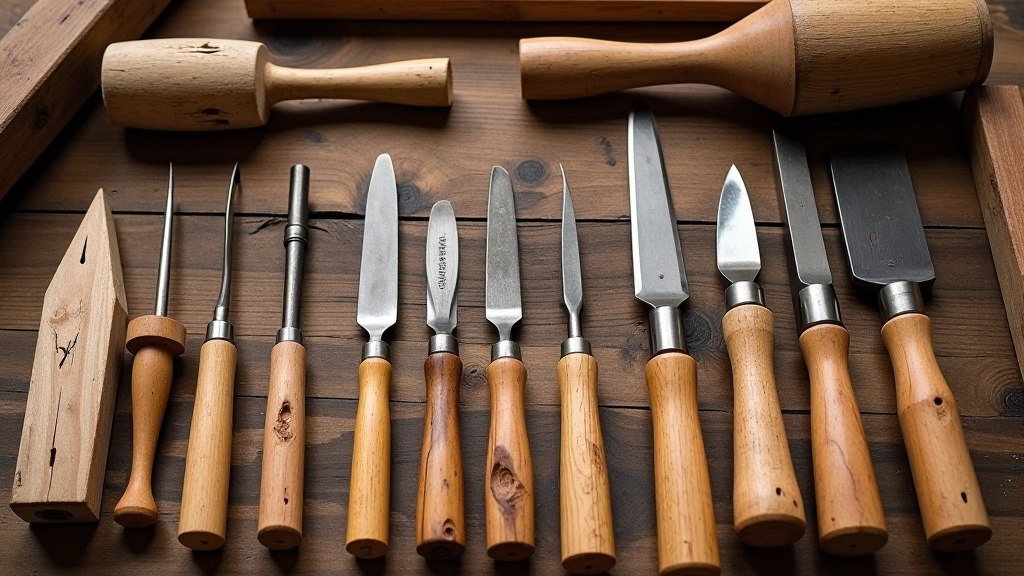
You don't need a workshop full of equipment to carve wood effectively. Traditional carvers worked with remarkably simple tools — knives, chisels, gouges, and mallets. What matters isn't quantity but quality. A single well-maintained blade holds an edge better than a dozen dull ones.
The basic toolkit includes:
- Carving knives: Straight, curved, and hook-shaped blades for general shaping and detail work
- Gouges: Curved chisels in various sweep depths — critical for relief carving and creating flowing lines
- Chip carving knives: Short blades designed for making precise geometric cuts without splitting the wood
- Mallets: Wooden or rubber-headed hammers for controlled force behind chisels and gouges
- Sharpening stones: Essential — you'll spend more time keeping tools sharp than actually carving
Many carvers still prefer hand tools over power equipment because they provide direct feedback. You feel the wood's resistance, sense when you're following grain versus cutting against it. This tactile connection is irreplaceable.
Core Carving Techniques You'll Find in Our Collection
Different woodcarving approaches create different visual effects and require distinct skill sets. Our permanent collection showcases three primary techniques that've shaped American folk art traditions.
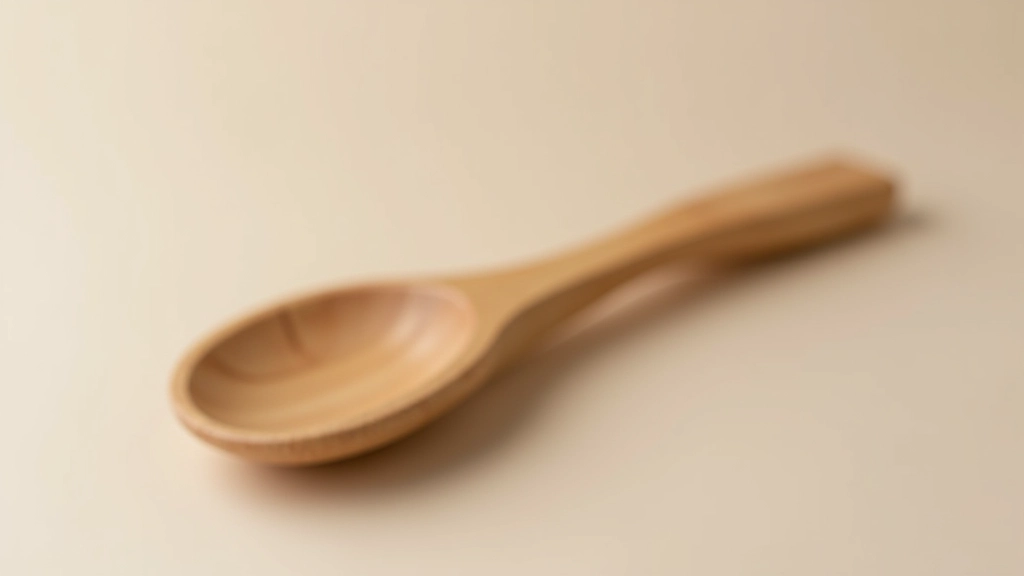
Spoon Carving is deceptively simple in concept but demands precision. The carver removes wood from the bowl using a bent gouge, then shapes the handle with knife work. A properly carved spoon balances weight and ergonomics — it should feel natural in your hand after years of use. This technique dates back centuries and remains one of the most practical forms of woodcarving.
Chip Carving creates geometric patterns by removing small chips of wood in controlled sequences. Using a specialized knife or small chisel, the artist makes angled cuts that meet at a point, lifting away a triangular chip. This creates visual depth and shadow play across flat surfaces. It's methodical, requiring steady hands and patience — but doesn't demand years of training to produce impressive results.
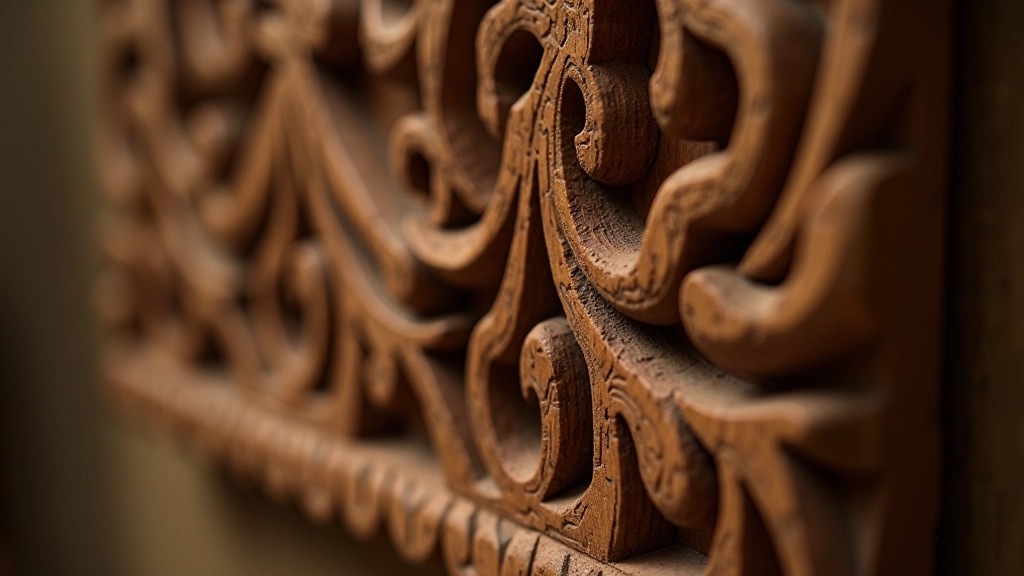
Relief Carving involves removing background wood to make an image appear to project from the surface. The depth can range from shallow (barely 1/4 inch) to deeply carved (3-4 inches). This technique demands understanding composition, perspective, and how light interacts with carved forms. It's the most complex approach, often taking weeks to complete a single panel.
The Carving Process: From Wood Selection to Finish
Understanding how a carver moves from raw timber to finished piece reveals why these objects command respect. It's not spontaneous — it's deliberate and structured.
01
Wood Selection & Preparation
The right wood matters enormously. Basswood is soft and fine-grained — ideal for beginners. Walnut carves beautifully but is harder and more expensive. Poplar works well for large pieces. Carvers must also let wood dry properly (6-12 months depending on thickness) to prevent checking and splitting as it seasons.
02
Design & Layout
Many traditional carvers work from memory or simple sketches, but modern practitioners often create detailed drawings or patterns. For relief work, a full-scale drawing gets transferred to the wood surface using carbon paper or chalk. This roadmap guides the carving and prevents costly mistakes.
03
Roughing Out
The first cuts establish the overall form. This stage removes the bulk of unwanted wood using larger tools and more aggressive cuts. It's the physical, muscle-intensive phase. Patience here prevents accidents — rushing roughing can split the piece or cut into areas you wanted to keep.
04
Shaping & Detail Work
With the basic form established, finer tools refine details. Smaller gouges create texture and subtle modeling. This is where the carver's personal style emerges — how they handle transitions, create emphasis, and bring character to the piece. This phase can take as long as roughing, especially for intricate work.
05
Finishing & Smoothing
The final step involves smoothing surfaces with increasingly fine tools, abrasives, or sometimes just careful hand planing. Some carvers leave tool marks as texture; others sand everything smooth. Traditional finishes included linseed oil, beeswax, or simply exposure to air and handling that darkened and polished the wood naturally over decades.
Woodcarving in American Folk Traditions
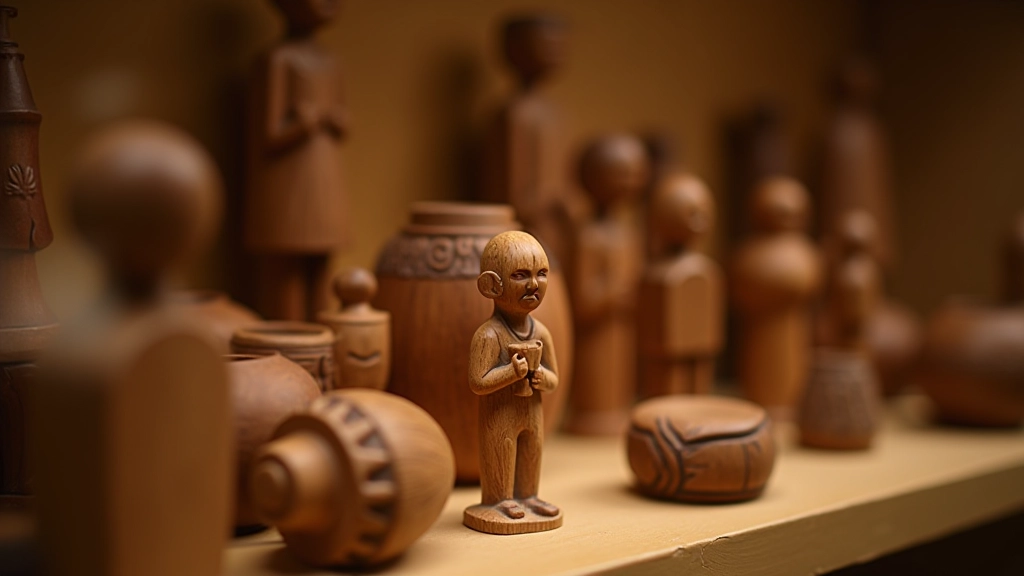
Woodcarving arrived in America with settlers from Europe, Africa, and beyond, but it evolved distinctly here. Early American carvers adapted their techniques to local woods, regional aesthetics, and practical needs. Ship carvers created figureheads. Furniture makers added carved details to chairs and chests. Decoy carvers developed refined sculptural forms while creating functional hunting tools.
What's remarkable is how regional styles developed. Appalachian carvers created whimsical figures and walking sticks. Scandinavian-American communities maintained chip carving traditions. Native American carvers preserved totem and mask-making practices. Each tradition carried cultural identity and storytelling practices.
"The wood tells you what it wants to become. You just listen with your hands."
— Traditional carver wisdom
Today, woodcarving connects us to this heritage. Every carved piece in our collection represents someone's decision to invest weeks or months into creating something by hand — something that could've been mass-produced faster and cheaper. That choice matters. It says something about how we value craftsmanship, patience, and human skill in an age of efficiency.

Getting Started With Woodcarving
If you're drawn to woodcarving after seeing our collection, starting isn't complicated. You'll need basic tools, suitable wood, and realistic expectations about the learning curve.
Start with Spoon Carving
Spoon carving offers the gentlest entry point. A single knife, a piece of basswood, and a few hours of practice can produce something functional and beautiful. You'll learn tool control, understand wood grain, and create something you'll actually use.
Invest in Quality Tools Early
Cheap tools frustrate you into quitting. Three or four quality hand-forged carving knives cost less than many hobbies and will last your lifetime. They hold edges better, feel better in your hand, and make the work genuinely enjoyable rather than exhausting.
Join a Community
Carving communities exist everywhere — local clubs, online forums, maker spaces. Experienced carvers share knowledge freely. You'll accelerate your learning by years just watching someone work and asking questions. Plus, it's more fun with others.
Keep Tools Sharp Always
You'll spend 20% of your time carving and 80% keeping tools sharp — especially as a beginner. Dull tools cause accidents, frustration, and poor results. Invest in a sharpening stone and learn proper technique. It's not boring; it's essential.
Why Woodcarving Still Matters Today
In a world of digital design and automated manufacturing, hand-carved objects represent something increasingly rare: direct human effort, visible in the finished form. You can see where the carver's hand hesitated, where they adjusted the design mid-work, how they solved problems through the material itself.
The pieces in our collection aren't museum artifacts meant only for viewing. They're invitations. They ask you to consider what it means to create something with your hands, to understand a material deeply, to develop skill through patient practice. They suggest that the old ways of making things still have value — not as nostalgic recreation, but as genuine expressions of human creativity.
Whether you're here out of curiosity or genuine interest in learning, we encourage you to examine our carved pieces closely. Notice the tool marks. Understand the grain direction. Imagine the hours invested. Then ask yourself: what could you create if you gave yourself permission to learn slowly and make something real?
Related Articles

Informational Purpose
This article is provided for educational and informational purposes about traditional woodcarving techniques and folk art heritage. While we've drawn from established craft traditions and documented practices, woodcarving involves sharp tools and requires proper training. If you decide to pursue woodcarving, we strongly recommend learning from experienced instructors, following safety guidelines, and consulting additional resources specific to your chosen carving technique. Always prioritize safety and develop your skills gradually under proper guidance.